Flutter iOS 音声メモアプリ開発(4)HealthKitで血圧登録
Apple社は、HealthKitという健康とフィットネスデータのリポジトリを提供しています。iOSでは「ヘルスケア」というアプリからアクセスできます。今回は、音声メモアプリからこのリポジトリに血圧を登録することを考えてみます。
若いときには血圧なんてあまり意識したことはありませんでした。しかし、高血圧は自覚症状がないため、40代になれば定点観測をしておくべきデータとのことです。
血圧は心臓が血液を動脈に送り出す時の圧力ですが、心臓が収縮した時の血圧(収縮期血圧)と、膨らんだ時の血圧(拡張期血圧)の2つの値がセットとなっています。
health パッケージ
Flutter でHealth Kitにアクセスするパッケージとしてメジャーなパッケージはhealthパッケージです。Androidにも対応しており、使い方も簡単なんですが、致命的なことに血圧を正しく登録することができませんでした。
収縮期血圧と、拡張期血圧をそれぞれ登録することはできるのですが、これらを一つの血圧データとすることができません。そのため、グラフではデータが表示されますが、血圧データは存在しないことになってしまいます。登録したそれぞれのデータは中途半端に登録されることとなり、消すこともできなくなるので注意してください。
この件は、issues#550で開発者からもコメントされており、現在のところ実装の計画はないようです。
health_kit_reporter パッケージ
HealthKitに対応するもう一つのパッケージが、health_kit_reporterパッケージです。こちらはiOS専用のパッケージで、Androidには対応していません。
今回は、このパッケージを利用します。
いつものようにExampleコードを動かして動作を確認しました。使っているflutter_local_notificationのバージョンが新しいと動かないので、注意が必要です。
かなり大きなExampleコードだったので、少し整理して血圧登録だけのサンプルコードを作ってみました。
事前準備
まず、パッケージをインストールします。
flutter pub add health_kit_reporter
flutter pub get
info.plistにアクセス許可を追加します。
<key>NSHealthShareUsageDescription</key>
<string>WHY_YOU_NEED_TO_SHARE_DATA</string>
<key>NSHealthUpdateUsageDescription</key>
<string>WHY_YOU_NEED_TO_USE_DATA</string>
次に、XcodeのSigning&Capabilitiesから、+CapabilityをクリックしてHealthKitを使えるようにします。
サンプルコード
サンプルコードは以下の通りです。
import 'dart:async';
import 'package:flutter/material.dart';
import 'package:health_kit_reporter/health_kit_reporter.dart';
import 'package:health_kit_reporter/model/payload/correlation.dart';
import 'package:health_kit_reporter/model/payload/device.dart';
import 'package:health_kit_reporter/model/payload/quantity.dart';
import 'package:health_kit_reporter/model/payload/source.dart';
import 'package:health_kit_reporter/model/payload/source_revision.dart';
import 'package:health_kit_reporter/model/predicate.dart';
import 'package:health_kit_reporter/model/type/correlation_type.dart';
import 'package:health_kit_reporter/model/type/quantity_type.dart';
void main() {
runApp(const MyApp());
}
mixin HealthKitReporterMixin {
Predicate get predicate => Predicate(
DateTime.now().add(const Duration(days: -365)),
DateTime.now(),
);
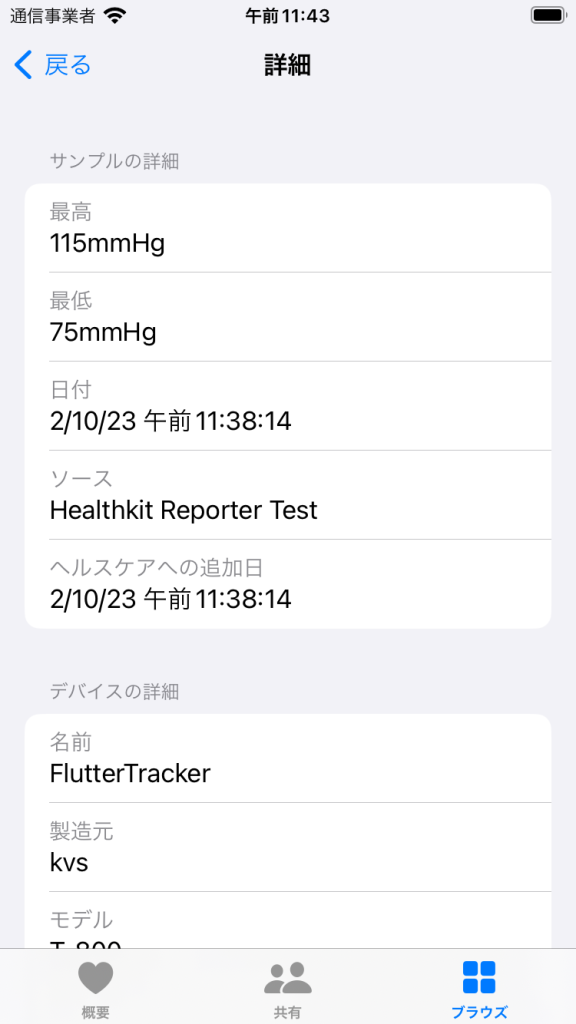
Device get device => const Device(
'FlutterTracker',
'kvs',
'T-800',
'3',
'3.0',
'1.1.1',
'kvs.sample.app',
'444-888-555',
);
Source get source => const Source(
'myApp',
'com.kvs.health_kit_reporter_example',
);
OperatingSystem get operatingSystem => const OperatingSystem(
1,
2,
3,
);
SourceRevision get sourceRevision => SourceRevision(
source,
'5',
'fit',
'4',
operatingSystem,
);
}
class MyApp extends StatelessWidget {
const MyApp({super.key});
@override
Widget build(BuildContext context) {
return MaterialApp(
debugShowCheckedModeBanner: false,
title: 'health kit Demo',
theme: ThemeData(
primarySwatch: Colors.blue,
),
home: const MyHomePage(title: 'health kit Demo Home Page'),
);
}
}
class MyHomePage extends StatefulWidget {
const MyHomePage({Key? key, this.title}) : super(key: key);
final String? title;
@override
State<MyHomePage> createState() => _MyAppState();
}
class _MyAppState extends State<MyHomePage> with HealthKitReporterMixin {
String _bd = '';
String _bs = '';
@override
void initState() {
super.initState();
}
@override
Widget build(BuildContext context) {
return Scaffold(
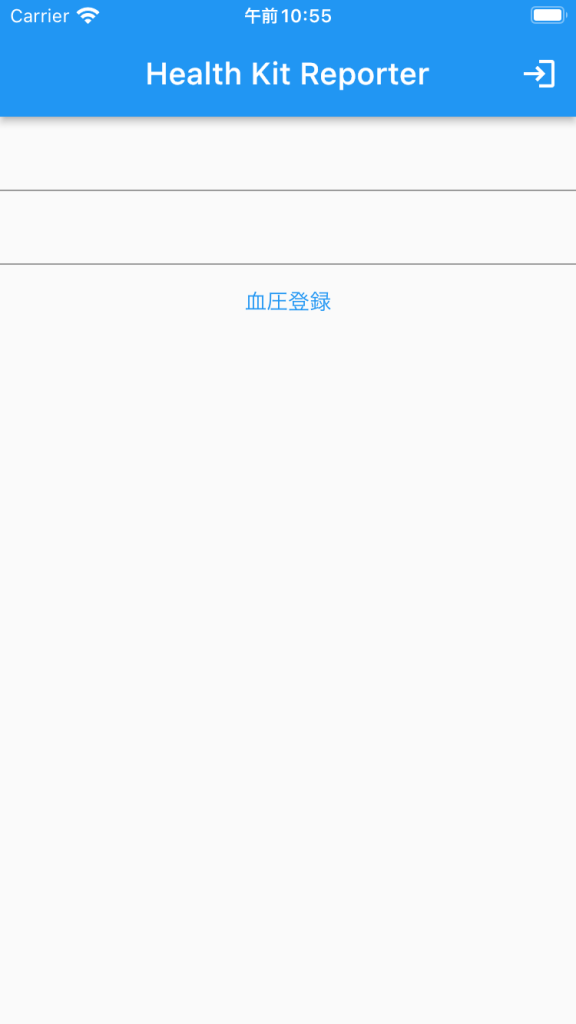
appBar: AppBar(
title: const Text('Health Kit Reporter'),
actions: [
IconButton(
onPressed: () => _authorize(),
icon: const Icon(Icons.login),
tooltip: 'Authorizes HealthKit',
)
],
),
body: Column(
children: [
TextField(
keyboardType: TextInputType.number,
onChanged: (value) {
_bd = value;
}),
TextField(
keyboardType: TextInputType.number,
onChanged: (value) {
_bs = value;
},
),
TextButton(
onPressed: () {
saveBloodPressureCorrelation();
setState(() {});
},
child: const Text('血圧登録'),
),
],
));
}
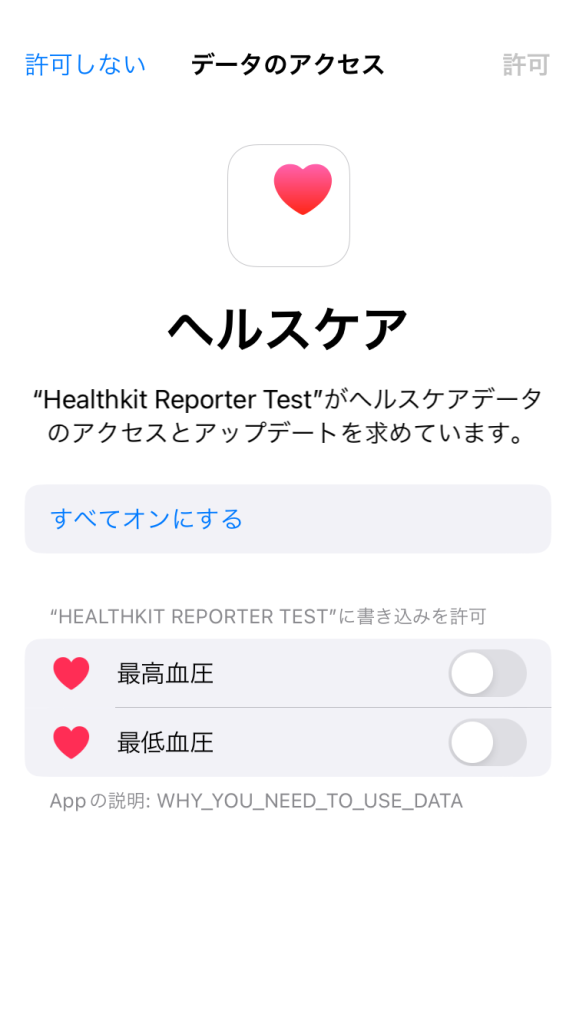
Future<void> _authorize() async {
try {
final readTypes = <String>[];
final writeTypes = <String>[
QuantityType.bloodPressureDiastolic.identifier,
QuantityType.bloodPressureSystolic.identifier,
];
final isRequested =
await HealthKitReporter.requestAuthorization(readTypes, writeTypes);
print('isRequested auth: $isRequested');
} catch (e) {
print(e);
}
}
void saveBloodPressureCorrelation() async {
try {
final now = DateTime.now();
final minuteAgo = now.add(const Duration(minutes: -1));
final sys = Quantity(
'testSysUUID234',
QuantityType.bloodPressureSystolic.identifier,
now.millisecondsSinceEpoch,
now.millisecondsSinceEpoch,
device,
sourceRevision,
QuantityHarmonized(int.parse(_bs), 'mmHg', null));
final dia = Quantity(
'testDiaUUID456',
QuantityType.bloodPressureDiastolic.identifier,
now.millisecondsSinceEpoch,
now.millisecondsSinceEpoch,
device,
sourceRevision,
QuantityHarmonized(int.parse(_bd), 'mmHg', null));
final correlationJarmonized = CorrelationHarmonized([sys, dia], [], null);
final correlation = Correlation(
'test',
CorrelationType.bloodPressure.identifier,
now.millisecondsSinceEpoch,
now.millisecondsSinceEpoch,
device,
sourceRevision,
correlationJarmonized);
final saved = await HealthKitReporter.save(correlation);
print('BloodPressureCorrelationSaved: $saved');
} catch (e) {
print(e);
}
}
}
最初にappBarのloginアイコンを押して、_authorize()を呼び出します。これによって、Health Kitの血圧データに書き込むことをユーザに許可してもらいます。
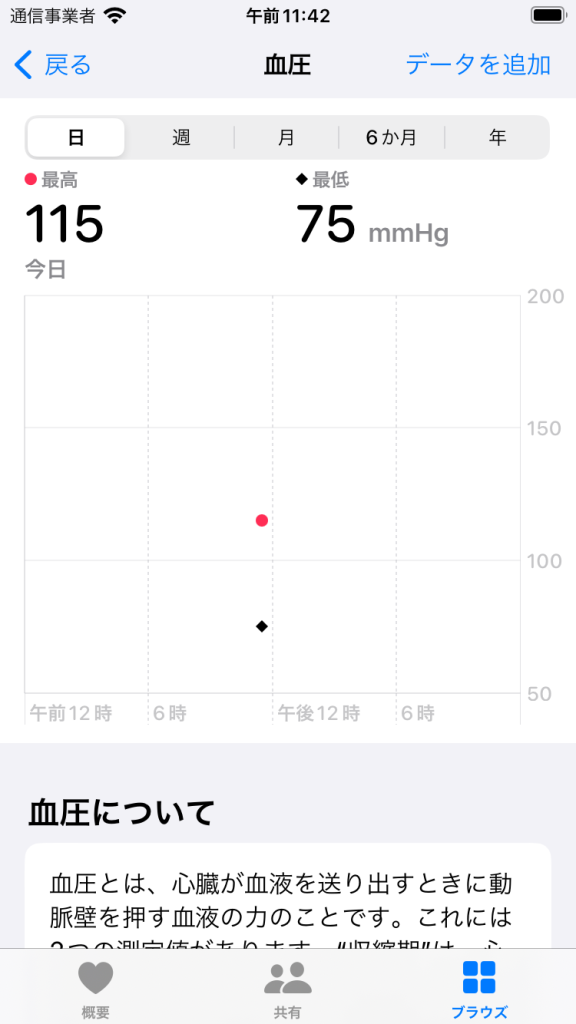
数値を入力して血圧登録をクリックしたのち、ヘルスケアアプリを開くと、データが登録されていることが確認できます。
ヘルスケアデータを登録できることが確認できましたので、次回は音声認識結果を登録するようにしたいと思います。